Deploying our AI Agent to the world using Cloudflare
Part of the series AI Agents and MCP Server: Teaming Up for the Agentic Web
This final part is optional, you can deploy your AI Agent wherever you want. I chose to deploy it on Cloudflare because it's my daily platform for deploying JavaScript projects. This requires a small refactor to leverage Cloudflare's MCP capabilities.
Cloudflare provides several primitives for AI Agents and MCP server on their platform. To ensure everything works, we'll move our MCP into a Cloudflare Worker.
Setting up Tooling
First, install the dependencies:
pnpm add agents && pnpm add -D wrangler @types/nodeThen add the following scripts to package.json:
{
  "scripts": {
    "dev:wrangler": "wrangler --config ./worker/wrangler.jsonc dev",
    "deploy:wrangler": "wrangler --config ./worker/wrangler.jsonc deploy",
    "cf-typegen": "wrangler types"
  }
}
Note
Consider suffixing or prefixing the script names with wrangler: to avoid confusion with other scripts.
We also need a wrangler.jsonc to configure our Cloudflare Worker. Create worker/wrangler.jsonc with the following content:
{
  "$schema": "node_modules/wrangler/config-schema.json",
  "name": "our-mcp",
  "main": "worker/index.ts",
  "compatibility_date": "2025-03-10",
  "compatibility_flags": [
    "nodejs_compat"
  ],
  "migrations": [
    {
      "new_sqlite_classes": [
        "OurMcp"
      ],
      "tag": "v1"
    }
  ],
  "durable_objects": {
    "bindings": [
      {
        "class_name": "OurMcp",
        "name": "MCP_OBJECT"
      }
    ]
  },
  "observability": {
    "enabled": true,
    "head_sampling_rate": 0.1
  }
}Note
The wrangler.jsonc file is not stored in the root directory to avoid conflicts when we will deploy the Nuxt application.
With this file, Wrangler will look for our Worker code in worker/index.ts. We also configure a Durable Object named OurMcp. Even if we don't need the SQLite capabilities, it's mandatory to use the MCP Agent class.
To finish the tooling setup, create a tsconfig.wrangler.json file to configure TypeScript for the Worker:
{
  "compilerOptions": {
    "target": "es2021",
    "jsx": "react-jsx",
    "lib": [
      "es2021"
    ],
    "module": "es2022",
    "moduleResolution": "bundler",
    "resolveJsonModule": true,
    "allowJs": true,
    "checkJs": false,
    "strict": true,
    "noEmit": true,
    "allowSyntheticDefaultImports": true,
    "forceConsistentCasingInFileNames": true,
    "isolatedModules": true,
    "skipLibCheck": true
  },
  "include": [
    "worker-configuration.d.ts",
    "worker/**/*.ts"
  ]
}Add this file to the existing tsconfig.json in the references section:
{
  "files": [],
  "references": [
    {
      "path": "./.nuxt/tsconfig.app.json"
    },
    {
      "path": "./.nuxt/tsconfig.server.json"
    },
    {
      "path": "./.nuxt/tsconfig.shared.json"
    },
    {
      "path": "./.nuxt/tsconfig.node.json"
    },
    {
      "path": "./tsconfig.worker.json"
    }
  ]
}Now generate types:
pnpm run cf-typegenThis ensures correct autocomplete within the worker files.
Don't forget to add the .wrangler folder to .gitignore to avoid committing it by mistake.
Moving to Worker
Now that the tooling is ready, move the MCP code into a Cloudflare Worker.
Create worker/index.ts and add a minimal Worker:
export default {
  fetch(request: Request, env: Env, ctx: ExecutionContext) {
    return Response.json({ message: 'Hello from the worker!' })
  },
}
A Worker, in its simplest form, is an exported object with a fetch method.
With the agents package installed, extend the Worker's functionality by connecting it to the MCP.
Import the McpAgent class from agents and extend it to create OurMcp:
import { McpAgent } from 'agents'

class OurMcp extends McpAgent {
}
Then use OurMcp in the Worker code:
export default {
  fetch(request: Request, env: Env, ctx: ExecutionContext) {
    return OurMcp.serve('/').fetch(request, env, ctx)
  },
}
Note
All of this happens within the same file.
Finally, move the MCP code into the OurMcp class:
export class OurMcp extends McpAgent {
  server = new McpServer({
    name: 'ai-agent',
    version: '1.0.0'
  })

  async init() {
    this.server.tool (
      'addition',
      'Adds two numbers',
      {
        a: z.number().describe('The first number'),
        b: z.number().describe('The second number')
      },
      async (params) => {
        return {
          content: [
            {
              type: 'text',
              text: String(params.a + params.b)
            }
          ]
        }
      }
    )
  }
}As you can see, it's simple to create an MCP within a Cloudflare Worker. You can now safely delete the server/routes/mcp.ts file.
We can start the development server to test our changes.
pnpm run dev:wranglerYou can test using either the AI application or the MCP Inspector.
Important
Don't forget to change the NUXT_MCP_ENDPOINT environment variable in your .env file to point to the Worker URL (http://localhost:8787).
Deploying to Cloudflare
This is the simplest part!
Run:
pnpm run deploy:wranglerWait a moment and your MCP will be live.
Use the URL within your AI application to interact with it. The deployment should provide a URL like https://our-mcp.<your-subdomain>.workers.dev.
To deploy the AI application, run:
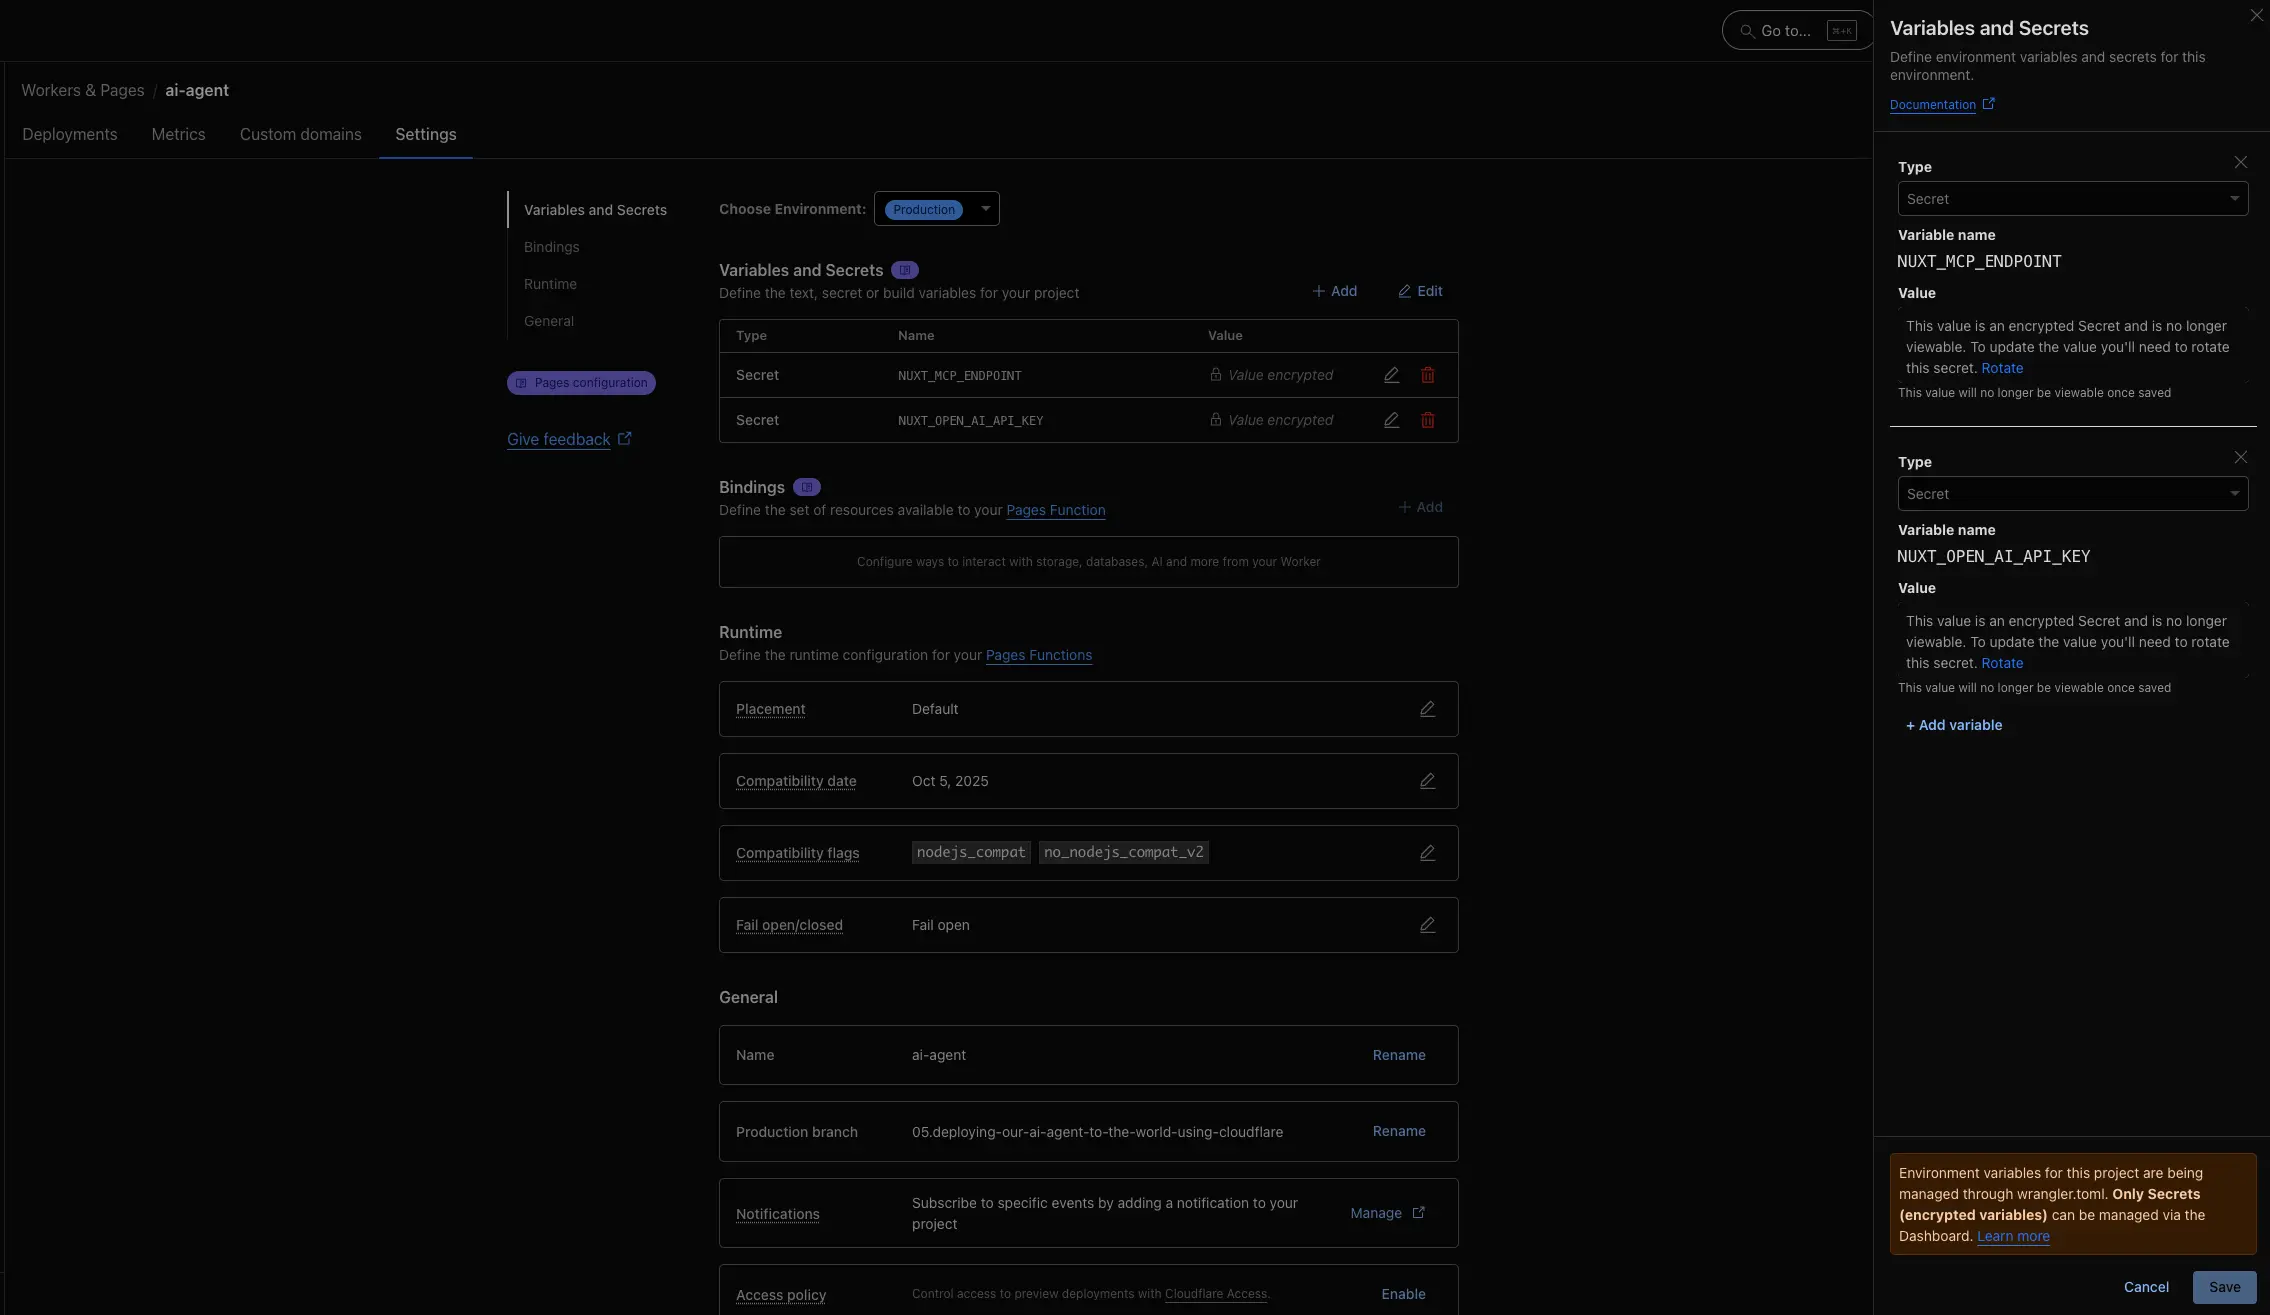
SERVER_PRESET=cloudflare_pages pnpm run build && npx wrangler --cwd dist pages deployThe last step is to set up environment variables in your account. Within the Pages settings page, add the OpenAI API key as a secret and the MCP endpoint URL as plain text.
And that's it, your AI agent is deployed and ready to use.
If you look closely at the URL in the video, you'll see it's pointing to the Cloudflare Workers domain. 😌

Thanks for reading! My name is Estéban, and I love to write about web development and the human journey around it.
I've been coding for several years now, and I'm still learning new things every day. I enjoy sharing my knowledge with others, as I would have appreciated having access to such clear and complete resources when I first started learning programming.
If you have any questions or want to chat, feel free to comment below or reach out to me on Bluesky, X, and LinkedIn.
I hope you enjoyed this article and learned something new. Please consider sharing it with your friends or on social media, and feel free to leave a comment or a reaction below, it would mean a lot to me! If you'd like to support my work, you can sponsor me on GitHub!
Discussions
Add a Comment
You need to be logged in to access this feature.